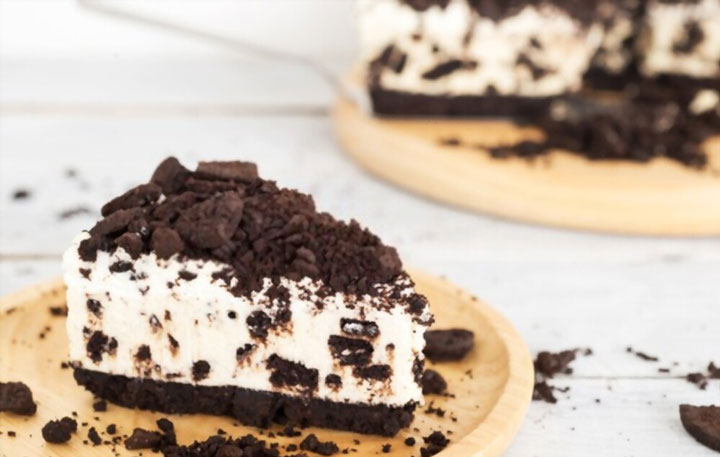
Indulge in the rich and creamy taste of Godiva Chocolate Cheesecake! This dessert is perfect for any occasion and will satisfy even the most discerning chocolate lovers. Made with a chocolate cookie crust, creamy cheesecake filling, and decadent Godiva chocolate, this dessert is sure to impress. Follow this simple recipe to create a delicious dessert that everyone will love.
Ingredients
- 1 1/2 cups of chocolate cookie crumbs
- 1/3 cup of melted unsalted butter
- 1 1/2 cups of Godiva chocolate chips
- 3 packages cream cheese (softened (about 8 oz each))
- 1 cup of granulated sugar
- 1/4 cup of unsweetened cocoa powder
- 4 large eggs
- 1 teaspoon of vanilla extract
- 1/2 cup of heavy cream
Instructions
- Preheat your oven to 325°F.
- In a bowl, mix together the chocolate cookie crumbs and melted butter until fully combined. Into the bottom of a 9-inch springform pan press the mixture.
- In a microwave-safe bowl, melt the Godiva chocolate chips in 30-second increments, stirring in between until fully melted.
- In a separate bowl, beat the cream cheese and sugar together until creamy. Add in the cocoa powder and beat again.
- Add the eggs while beating well after each addition. Stir in the vanilla extract and melted chocolate.
- Pour the cheesecake filling over the prepared crust and smooth the top with a spatula.
- Bake the cheesecake for 45-50 minutes or until the edges are set and the center is slightly jiggly.
- Let it cool to room temperature after removing it from the oven and before chilling it in the refrigerator for at least 4 hours or overnight.
- Carefully remove the cheesecake from the springform pan once chilled.
- Serve and enjoy!
Cooking Tips!!!
- It is good to use softened cream cheese in the recipe. This will make it easier to beat and will result in a creamier cheesecake.
- Use a water bath to help prevent cracks from forming on the top of the cheesecake.
- Chill the cheesecake overnight for the best texture and flavor.
Conclusion
This Godiva Chocolate Cheesecake recipe is the perfect dessert for any chocolate lover. With a chocolate cookie crust, creamy cheesecake filling, and rich Godiva chocolate, it’s sure to impress. Follow the simple instructions and tips to create a delicious and decadent dessert that everyone will love.
FAQs
Can I use a different type of chocolate in this recipe?
Using any type of chocolate in this recipe is preferable.
Can I freeze this cheesecake?
Yes, you can freeze this cheesecake for up to 3 months. Before freezing make sure to wrap it tightly in plastic wrap and aluminum foil.
Can I make this recipe without a springform pan?
A springform pan is recommended for this recipe, but you can use a regular cake pan if you don’t have one.
More Amazing Recipes
- Ghirardelli Brownie Mix Recipe
- Emile Henry Creme Brulee Recipe
- Lorna Doone Cookie Recipe
- Lambert’s Throwed Rolls Recipe
Godiva Chocolate Cheesecake Recipe
Ingredients
- 1 1/2 cups of chocolate cookie crumbs
- 1/3 cup of melted unsalted butter
- 1 1/2 cups of Godiva chocolate chips
- 3 packages cream cheese (softened (about 8 oz each))
- 1 cup of granulated sugar
- 1/4 cup of unsweetened cocoa powder
- 4 large eggs
- 1 teaspoon of vanilla extract
- 1/2 cup of heavy cream
Instructions
- Preheat your oven to 325°F.
- In a bowl, mix together the chocolate cookie crumbs and melted butter until fully combined. Into the bottom of a 9-inch springform pan press the mixture.
- In a microwave-safe bowl, melt the Godiva chocolate chips in 30-second increments, stirring in between until fully melted.
- In a separate bowl, beat the cream cheese and sugar together until creamy. Add in the cocoa powder and beat again.
- Add the eggs while beating well after each addition. Stir in the vanilla extract and melted chocolate.
- Pour the cheesecake filling over the prepared crust and smooth the top with a spatula.
- Bake the cheesecake for 45-50 minutes or until the edges are set and the center is slightly jiggly.
- Let it cool to room temperature after removing it from the oven and before chilling it in the refrigerator for at least 4 hours or overnight.
- Carefully remove the cheesecake from the springform pan once chilled.
- Serve and enjoy!
Welcome! My name is Emma and you are on my Internet Kitchen. Delicious food is the common love of every foodie person. This site is to share friendly and appetizing recipes. We believe for a better life, you should need better food. So, keep visiting for updated information and recipes.


